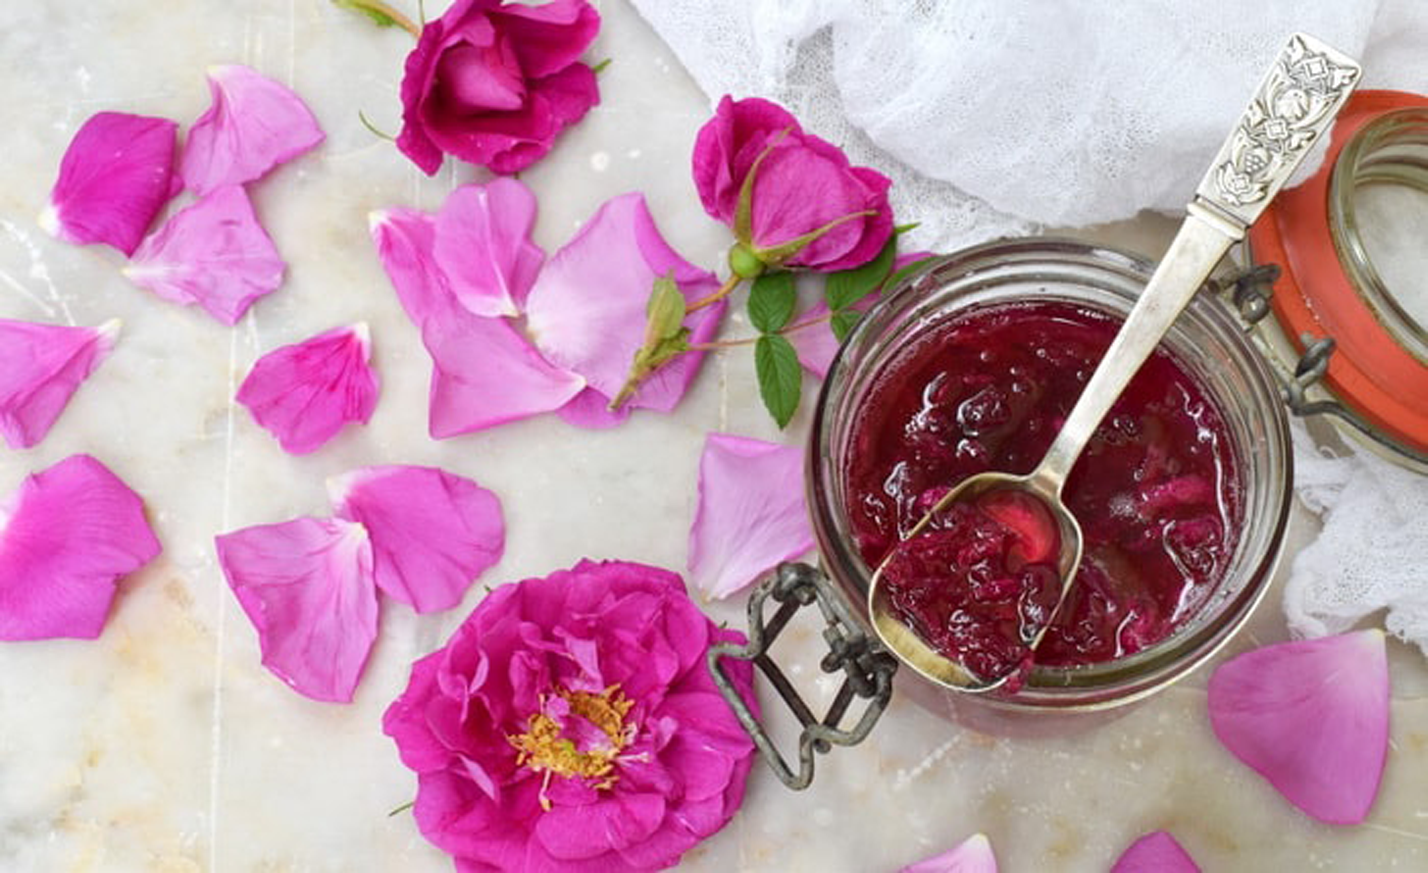
Homemade jams are a delicious way to preserve the summer harvest – and a jar of jam makes a lovely gift from the garden. Lynda Hallinan shares her basic method below:

Step 1: Harvest ripe fruit. If you can grow it, you can make it into jam. Some fruits are higher in pectin (the natural gelling agent that makes jams set) than others, such as plums. Slightly unripe fruit has more pectin than overripe fruit. Soft fruits, such as berries, are lower in pectin so you may want to use jam-setting sugar for a firmer finish.

Step 2: Cook the fruit. Chop the fruit into 1-2cm chunks and combine with a little water to stop it sticking. Over a low heat, bring it to a gentle simmer and cook until soft and pulpy. This is especially important when making jam from stonefruits with firm skins, such as apricots, plums and nectarines.

Step 3: Add sugar. Stir constantly until the sugar has dissolved. Traditionally, the basic jam recipe was equal quantities of fruit and sugar, though modern tastebuds (and waistlines) prefer a less sweet result. You can make low-sugar spreads, but they should be kept in the fridge and consumed within 3-4 weeks as sugar is the preservative.

Step 4: Boil the jam. Once the sugar has dissolved, turn up the heat to achieve a rolling boil (this means that when you stir the pot, the jam doesn’t stop boiling). Cook for 10 minutes for every 1kg of fruit used, then start testing for setting point by dribbling a little jam on a cold plate in the fridge. When it wrinkles and forms a skin, it’s ready.

Step 5: Bottle. Pour your jam into warm, dry, sterilised jars (run them through the hot cycle of your dishwasher, or wash by hand and heat in the oven at 100C for 30 minutes). Screw on the jar lids. Jam will keep for at least 12 months.