How to Grow Bush Roses
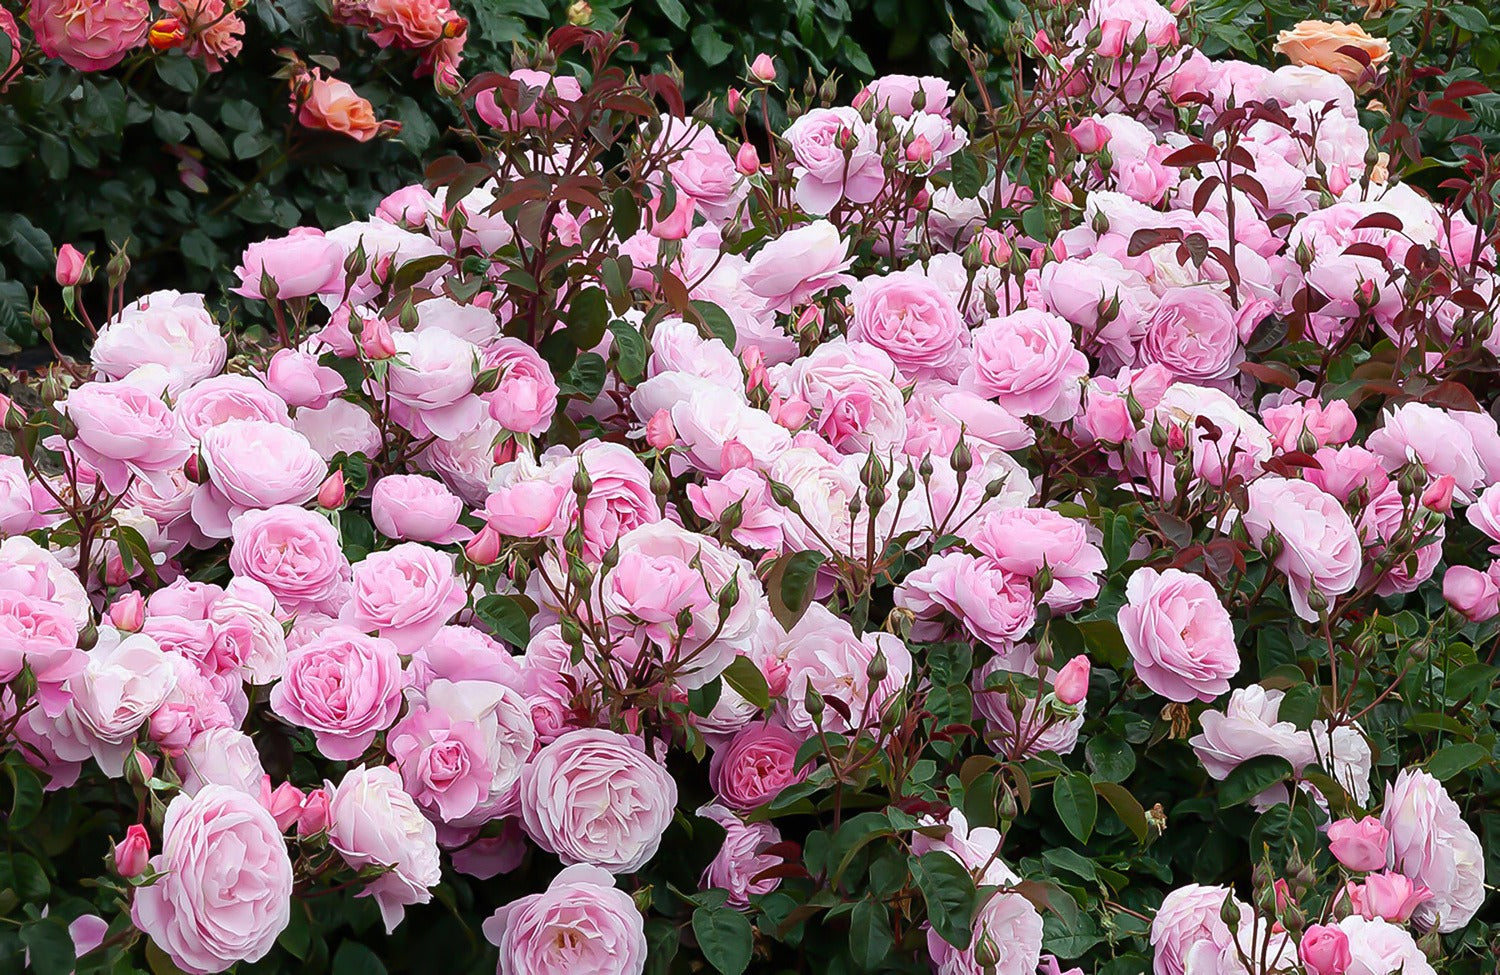
The rose has a timeless beauty and is an irresistible attraction to many people. Roses are regarded as the queen of flowering shrubs and their flowers bring a touch of romance to any garden.
Choosing your rose
Roses come in many types with different heritage benefits and growth habits.
Floribunda – produces masses of smaller flowers.
Hybrid tea – produces fewer flowers but larger individual blooms.
Bush roses – most commonly chosen and covering a vast number of colours, heights and characteristics.
Climbing roses – these varieties are best used over fences, pergolas and walls.
Standard roses – many bush rose varieties are also available grown on longer stems. These are easy to work on at 800mm high, a space saver and a good height for fragrance to be enjoyed.
David Austin roses – these ‘old English’ roses are actually new varieties that offer English rose blooms and perfume along with modern colours.
Old fashioned roses – some popular ‘classic roses’ are still available to home gardeners and enthusiasts.
How to plant
Roses prefer a soil which has good water holding capacity but is never waterlogged. A clay loam is ideal but roses will grow in most soils. Improve light soils by digging in plenty of compost and prepare the ground by deep digging prior to planting. If drainage is a problem try raised beds (at least 30cm above ground level). Roses love lots of sun but they will be fine with some afternoon shade. Five hours of sunlight is adequate. Most roses won’t do well in a very windy position but they do need good ventilation. An overcrowded situation makes them more susceptible to disease. The best planting time for all rose varieties is from winter through to spring.
Container grown roses
Container grown roses can be planted in your garden at any time of the year. There is no need to disturb the root system. Just lift the plant from the container and place into the hole that is dug to twice the depth and width of the root ball. Partially fill the hole with a rose mix and then place the rose in so that the bud union (the junction on a stem, usually swollen, where a graft bud has joined the stock following the process of budding) is 2-5cm above ground level when the hole is filled in. Add a slow release fertiliser, to the bottom of the hole before planting. Make a mound 5-7cm high in the centre and sit the central core of roots on it. Fill in halfway and firm down gently. Fill to top of hole. Firm down and water thoroughly. If required, tie a stake or other support.
Pruning
Pruning is an important element of rose growing. It helps to maintain the overall health of the plant by removing old wood and improving air circulation within the bush. It also encourages new growth and more blooms which will improve the display in your garden. In addition, pruning helps to keep the plants in a specific or manageable shape.
When to prune
Most roses should be pruned in winter while the plant is dormant, before they burst into growth and flowering. Pruned roses respond by sending out new shoots at the first sign of warm weather, so July and August is an ideal time to begin pruning. Lighter pruning in summer is also a good idea after flowering.
How to prune
Pruning cuts should be made at 45 degree angles, the upper point being approximately 5mm above an outward facing growth bud to encourage the bush to grow into a more open shape. The cuts need to slope away from the bud allowing the rain water to fall cleanly away. Look to establish the overall health and shape of the plant before you start pruning. Start by removing old or crossing stems and weak or diseased growth first (. Then prune for shape and height reduction. Try to keep the centre of the plant open as a muddle of twigs can inhibit light and air circulation encouraging disease. The aim of pruning is to keep the best from last season’s growth but reduced to 3-4 buds from the base.
Palmers handy tip: Remember to disinfect your tools after pruning diseased branches to prevent further contamination.
Removing flowers
As flowers fade they should be removed to encourage more blooms and to prevent the shrub from developing rosehips, which can inhibit flower production. Remove flowers by cutting back the stem, bearing the cut to the first strong outward facing bud. Don’t just nip the flowers off; the weak growth just beneath the spent flower will produce straggly growth. Combine this task with picking for the vase.
Watering and mulching
Roses thrive with lots of food and water. In light or sandy soils they’ll need frequent watering. Water deeply as roses are deep rooting so water must penetrate to the lowest roots. Also, surface watering new plants will encourage too much surface root growth and make plants more susceptible to drying out. Avoid overhead watering as this makes roses more prone to disease by creating high humidity around the foliage. Give them a good soaking a few times a week. Regular watering will be required to get plants established. Deep watering once a week is more effective than light watering. Installing an in-ground irrigation system can make the job less labour intensive and guarantee success – especially in dry shade. Mulch will conserve water and add nutrients and organic matter to the soil, use bark, peat, compost or pea straw. It will also help protect roots from temperature extremes and keep weeds out.
Pests and diseases
Roses benefit from a regular spray of bio feed, a compost tea which will result in a nice glossy healthy leaf, less susceptible to insects and disease. An alternate spray of organic insect spray and organic copper will prevent most insect and fungal problems. We also recommend a good winter clean up spray of lime sulphur followed by an organic copper oxy spray to give your rose a perfect start next spring.
This ‘How To’ Guide has been produced to provide basic information and our experienced staff are available to answer any questions that you may have. Because this guide is of a general nature, neither Palmers nor its staff are responsible for the application of the information, as the contents may need to be modified for individual projects and site applications.
This ‘How To’ Guide has been produced to provide basic information and our experienced staff are available to answer any questions that you may have. Because this guide is of a general nature, neither Palmers nor its staff are responsible for the application of the information, as the contents may need to be modified for individual projects and site applications.


